Getting Started
Demo Application
Some assets are not included into the source code because of copyright restrictions. However, you can sideload the demo app onto your device for an unrestricted experience. Please make sure to use the CompanionAPI web service to provide AR information for the artworks when the application is started for the first time. Please refer to the official documentation by Microsoft to learn how to use the Device Portal for sideloading.
Usage Example
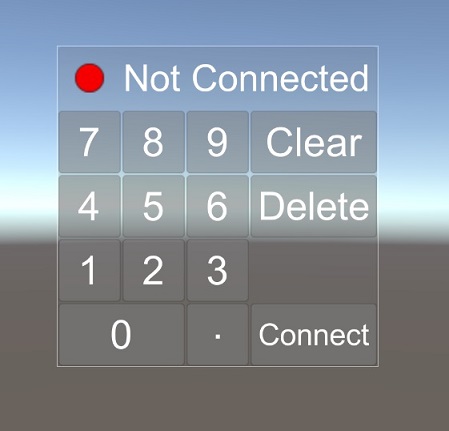
If the application is started for the first time, CompanionMR will try to connect to the CompanionAPI web service. If the first connection attempt is unsuccessful, it will be prompting the administrator for a manual IP configuration:

If the application has downloaded all the necessary AR information for the artworks it will save it permanently on the device storage for future use.
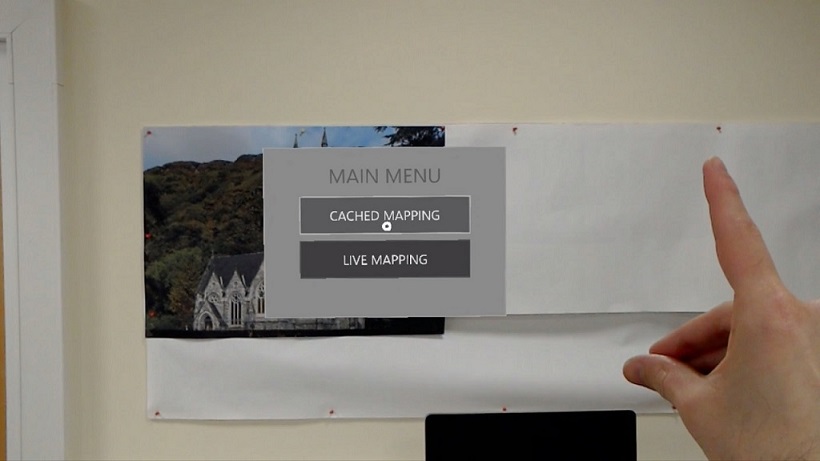
In addition to that, CompanionMR has to pass a setup once it is started in an unfamiliar room. In this setup procedure it is necessary to scan the room topology as well as the artwork positions. The administrator will be able to choose between two mapping variants:

Cached Mapping
Cached Mapping is the main spatial mapping mode. It is used to create a digital copy of the room topology that can be used for Augmented Reality calculations. The administrator has to walk around and scan the floor, tables, and walls. He will also need to recognize each artwork that is located in the room. This allows the application to automatically calculate suffice initialization coordinates for potential 3D assets. The following video demonstrates the setup process:
The digital room as well as the coordinates of the recognized artworks and corresponding 3D assets are permanently saved to the device. This completes the CompanionMR setup for this particular room. From now on, every time the application is started in this room it will recognize the saved data and automatically start the user mode.
Live Mapping
Live Mapping is a development mode for administrators. It allows to constantly scan for artworks while simultaneously spatial map the surrounding area at the same time. This mode is not bound to a specific room and does not save any results across restarts. Recognized artworks will not be able to instantiate 3D assets. Furthermore, the actual object recognition method can be changed in the Unity inspector before build. This mode is mostly designed for testing purposes.
Debugging
You can use the following preprocessor symbols for debugging purposes.
| SYMBOL | EFFECT |
|---|---|
| COMP_DEBUG_LOG | Display debug log |
| COMP_DEBUG_RECT | Display detection rectangles |
| COMP_DEBUG_RAYS | Display detection rays |
| COMP_DEBUG_IMAGE | Display result images |
| COMP_DEBUG_ANCHOR | Display world anchors |
| COMP_DEBUG_AREA | Display detection areas |
Voice Commands
You can use the following voice commands for debugging purposes.
| VOICE COMMAND | EFFECT |
|---|---|
| Wireframe On | Display spatial mapping |
| Wireframe Off | Hide spatial mapping |
| Debug On | Display debug log |
| Debug Off | Hide debug log |
| Tabula Rasa | Reset the scene |
| Show FPS | Show frames per second |
| Clear Debug | Clear debug log |
| Print All Anchors | Print all world anchors |
| Print Missing Anchors | Print unsaved atworks |
| Start Recording | Start video capture |
| Stop Recording | Stop video capture |